

Table of Contents(6)
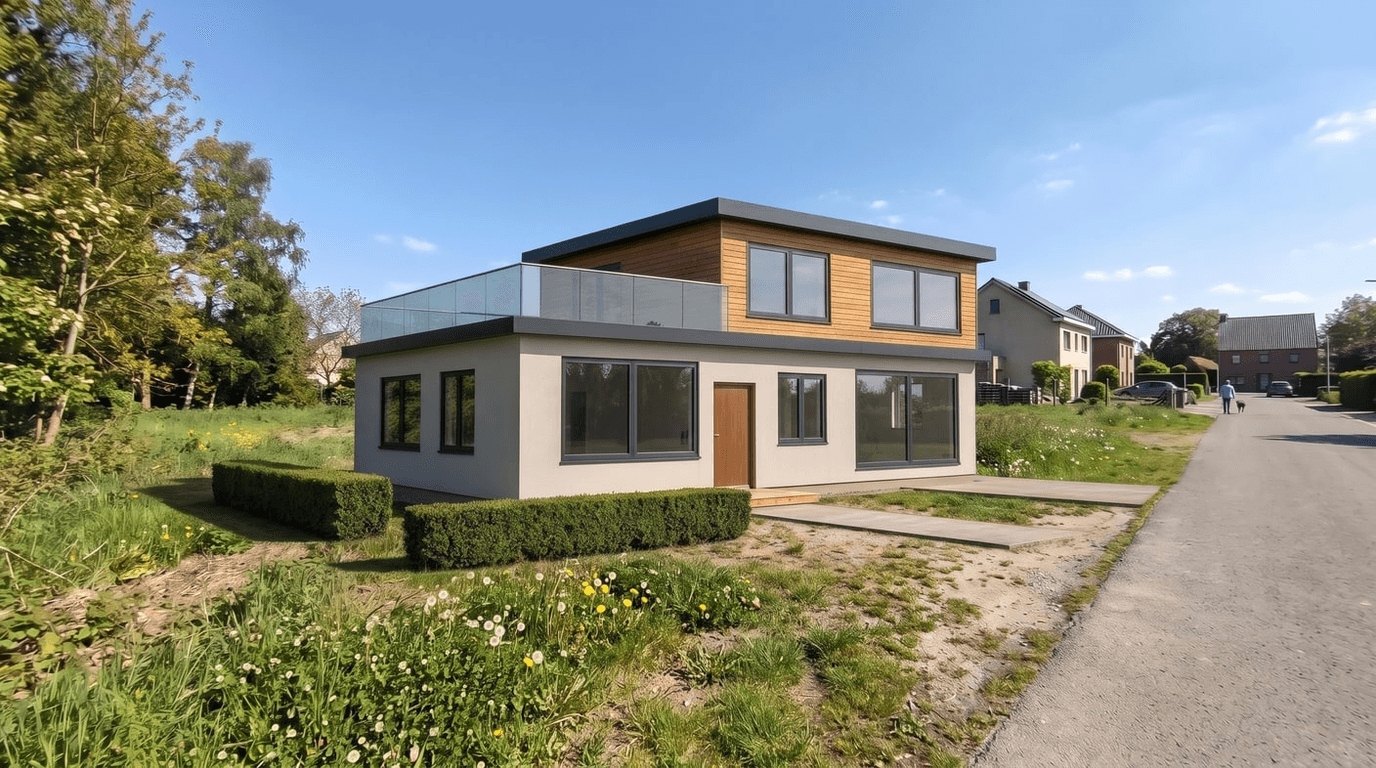
To see a house on your land before building, photograph the plot from where you will stand, upload it with an image of the building, paint the ground where it goes, then add landscaping and a fence.
Visualize a House on Your Land — Place Your Building on a Photo of the Plot
Upload a photo of your land and a view of your building, paint where it goes and see it standing there. Then add a lawn, trees, a path or a fence. From 3 credits.
Seeing a House on Your Land in Short
A design looks different on the real plot than on a white background. The slope, the neighbours, the trees and the light decide how a house will feel there. With Visualize a House on Your Land you can see it before anything is built, starting from two images:
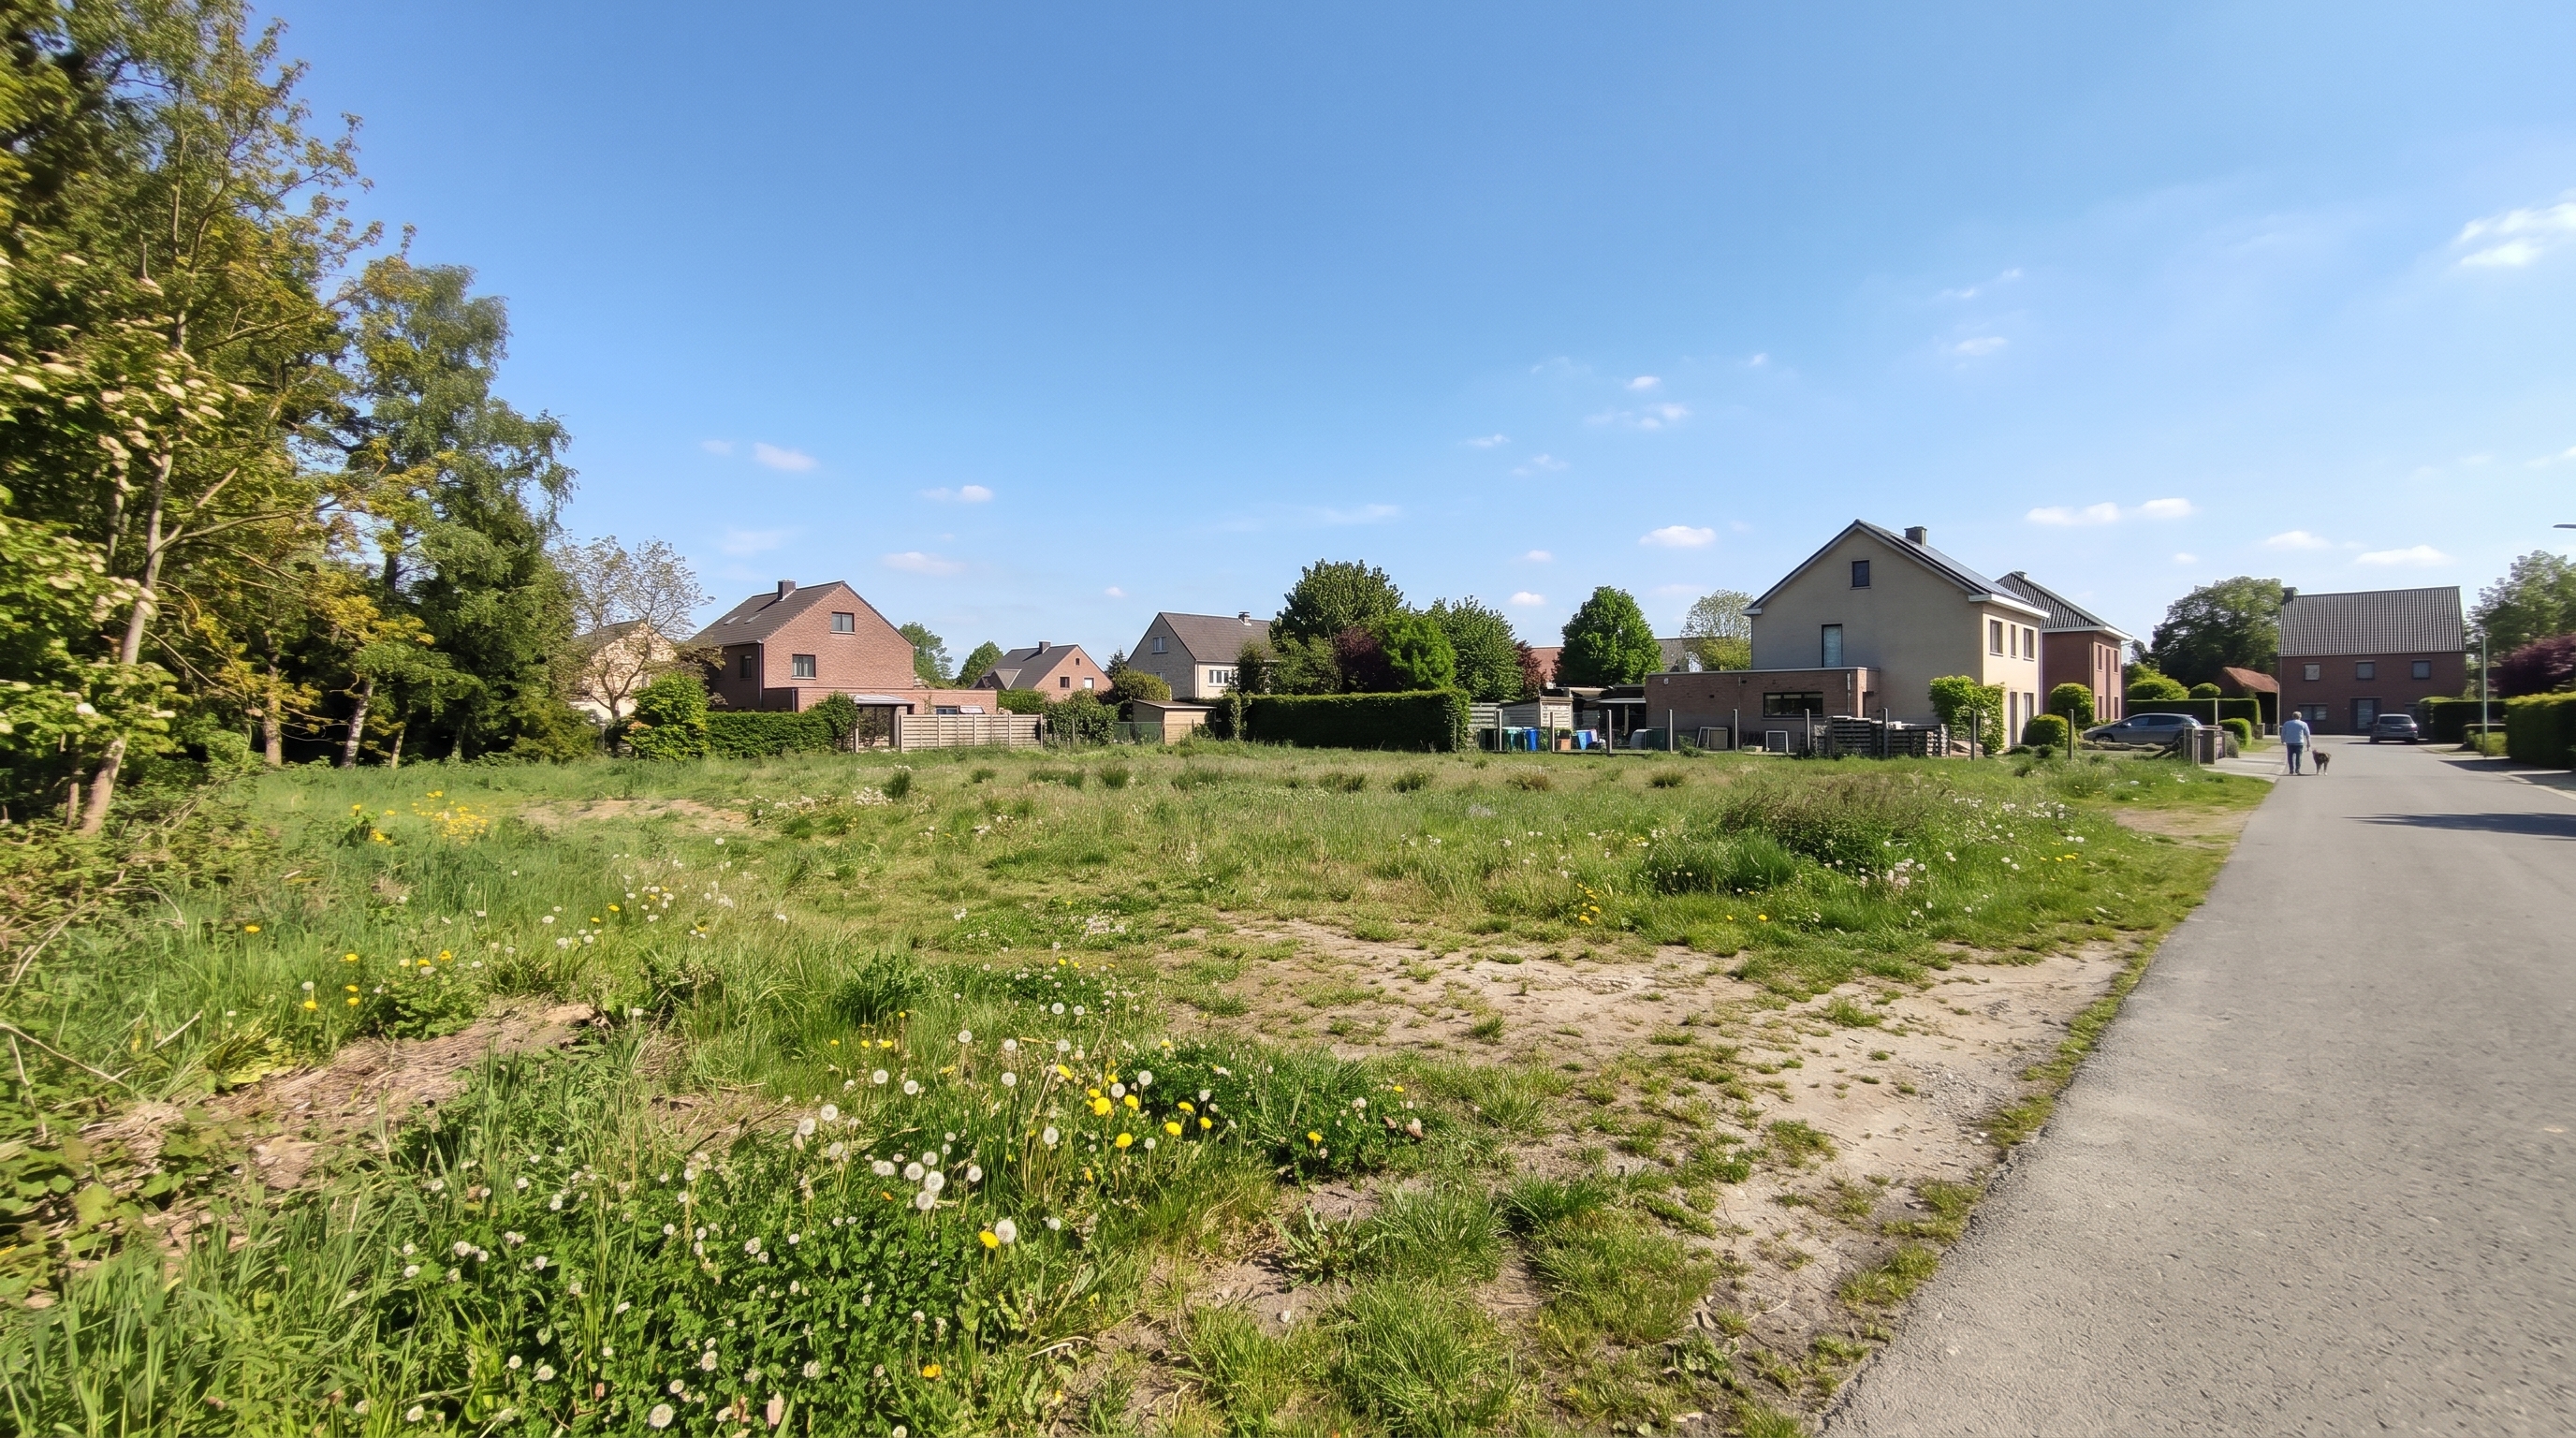
- A photo of the land as it is. The angle and the surroundings come from this photo.
- An image of the building: a view exported from its 3D model, or a result from 3D → Photoreal Render.
Then you work in steps, and each step adds a new version to the history:
- Building: paint the ground where the house goes. It is placed there in the photo's angle and light, for 3 credits (5 at 4K).
- Landscaping: paint an area and choose a lawn, flower beds, trees, a stone path, gravel or garden lights, for 2 credits.
- Fence or wall: draw the line and choose the type, colour and height, for 2 credits.
- Free edit: paint a spot and describe the change, for 2 credits.
Homeowners use it to choose between designs, builders and developers to show buyers what a plot can become, architects to bring a design into a photo of the real site for a client meeting. It is a picture for deciding and presenting, not a survey, a site plan or a permit drawing; the last section explains the difference.
About the images in this guide: the cover image and the result are AI-generated visualizations, and the land photo in the example is an AI-generated sample.
Step 1: Take the Right Photo of the Land
The land photo decides more than anything else, because the building is fitted into its angle and its light. Before you take it:
- Stand where you would look at the house. That is usually the street, the drive or the garden gate: the place people will first see it from. The result keeps this viewpoint, so choose it on purpose.
- Shoot in daylight. A sharp daylight photo works best, and the building takes on the light of the photo you give it.
- Get the whole spot in view. The ground where the house will stand must be visible from edge to edge, with some space around it. A wide photo that also shows the neighbours, the street and the trees gives the result its context.
- Keep the spot clear. Nothing should block the ground you will paint. Parked cars or people in front of the plot hide the place the building needs.
- Hold the camera level at eye height. A level photo keeps the vertical lines of the trees and the neighbouring houses upright, and the house is set into that same perspective.
- Take more than one viewpoint. A photo from the street and one from the garden show the same design from two sides, each placement a separate run.
The photo can be a JPG, PNG or WebP file of up to 50 MB.
Step 2: Prepare the Building Image
The building comes from an image as well, and two sources work:
- A view exported from the 3D model, from SketchUp, Revit, Archicad or any other program. An exterior view works best, with the whole building in frame.
- A result from 3D → Photoreal Render. From an exterior result, Place on my site opens the land step for that building, so a render and its placement stay together in the studio.
Match the views. An exterior view from roughly the same height and direction as your land photo blends in best: if you photographed the plot from the street, use the building's street side. The building keeps its shape, windows and roof when it is placed. Whatever stands right next to it in the building image can come along too, as the hedges in the example below show, so a clean view of the building alone gives you the most control over the garden later.
Step 3: Paint the Spot and Check Size and Fit
Upload both images, then paint the ground the building will sit on. Your paint shows in red on screen; it never stays in the result. An optional note can add a detail, such as which side the entrance faces. Place the building costs 3 credits, or 5 at 4K on the Pro and Business plans.
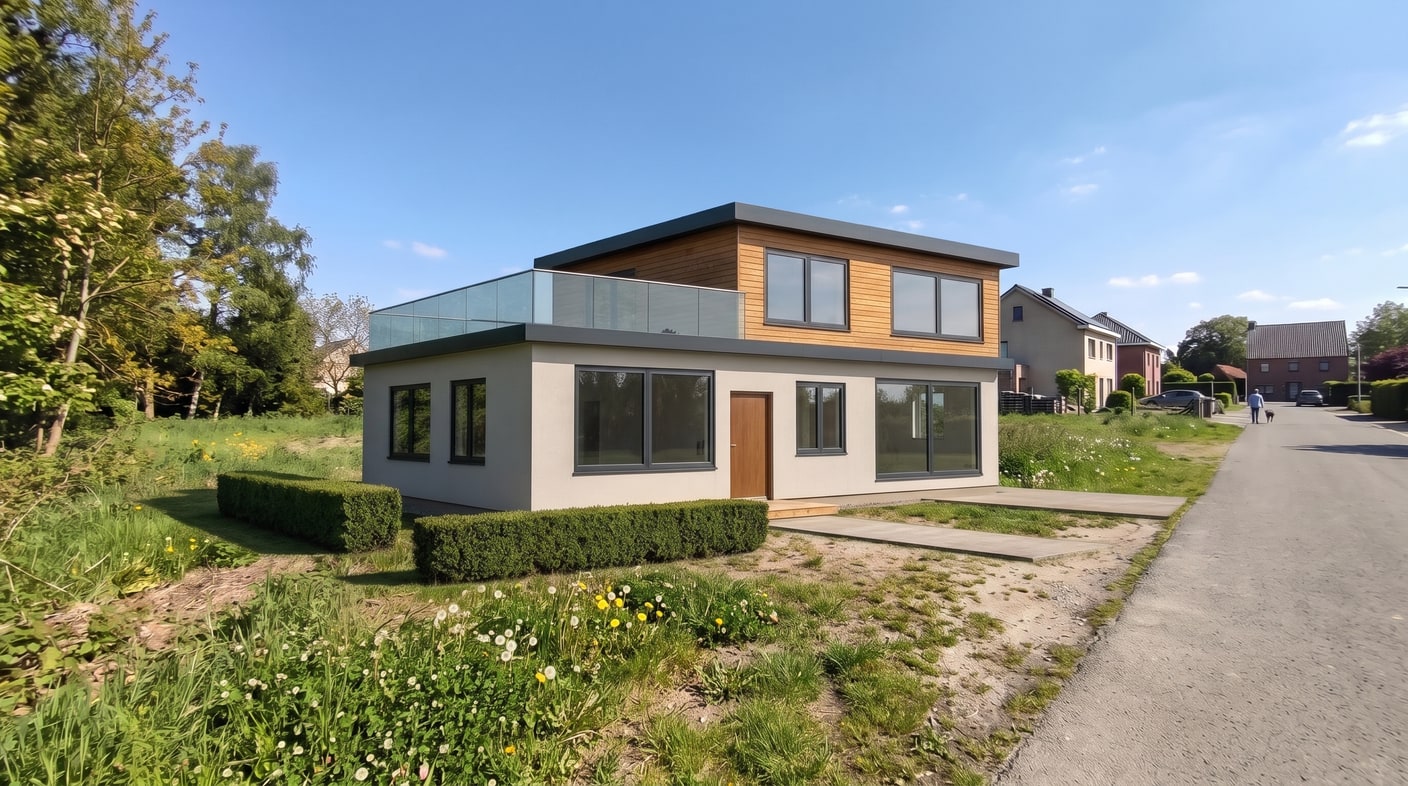
The painted area decides where the building stands and how large it appears. The tool does not know the real size of your plot or your house, so check the result with your own eyes:
- Compare with things of known size in the photo: a neighbouring house, a door, a car on the road.
- Look at the base. The house should stand on the ground, not float above it or sink into it, and its shadow should fall the same way as the shadows in the photo.
- Look at the edges of the plot. A house that crosses the boundary or the road in the picture would do so on site as well.
If the size or the spot is wrong, paint a larger or smaller area and run it again. Every run is a new version in the history, so you can return to any version and continue differently from there. The same works for comparing designs: place two or three houses on the same land photo and look at them side by side before you commit to one.
Step 4: Add Landscaping, a Fence and Small Changes
Once the building is placed, the next steps open. Each one changes only the area you paint or the line you draw, and each costs 2 credits:
| Step | What you do | Choices | Credits |
|---|---|---|---|
| Building | Paint the ground the building sits on | An optional note | 3 (5 at 4K) |
| Landscaping | Paint where it goes | Lawn, Flower beds, Trees, Stone path, Gravel, Garden lights (as many as you like), or a note | 2 |
| Fence / wall | Draw the line the fence follows | Metal, Wood, Stone wall, Hedge or Glass; Dark gray, Black, White, Wood or Brown; Low 1 m, Medium 1.5 m or High 2 m; or a sample photo of a fence you like | 2 |
| Free edit | Paint a spot and describe it | Any change, such as a pergola or a driveway | 2 |
| Eraser | Paint what should go | Removes it and fills the space naturally | 2 |
A few tips from the steps themselves. For landscaping, a note such as "a stone path up to the entrance" says more than the choice alone. For a fence, leave a gap in the line at the entrance, and use the note for a gate at the driveway. A sample photo of a fence you like is used instead of the type, colour and height choices. The eraser is useful on the land photo too, for example for an old shed that will be demolished.
What It Is Not: a Survey, a Site Plan or a Permit Drawing
The result is a picture of how the house could look on your land from one viewpoint. It is useful for choosing a design, for talking it through with your family, your architect or your builder, and for showing buyers what a plot could become. It does not measure anything:
- Sizes are not measured. The house is as big as the area you painted, judged by eye, not by the plot's real dimensions or the plans' real ones.
- Nothing is checked. Setbacks, heights, distances to the boundary and zoning rules are not part of the picture.
- It is not a site plan. A site plan for a planning application is a scaled drawing. The UK Planning Portal, for example, says site plans are typically drawn at 1:200 or 1:500 with a north arrow, and show the size and position of the building relative to the property boundary and the adjacent streets. That drawing is prepared from measured data, usually by an architect or a draftsperson.
Before you buy a plot for a design or start building, check the boundaries, setbacks and height limits with your architect and the local planning authority. When you use the images to sell a plot or a planned home, label them as visualizations: the house does not exist yet, and the images are AI-generated.
Ready to transform your listings?
Try Roomagen's AI virtual staging for free. Upload your first photo and see the result, usually in under a minute.
Start FreeFrequently Asked Questions

Written by
Roomagen Team
The Roomagen team creates in-depth guides about AI virtual staging, real estate photography, and property marketing strategies to help agents and professionals stay ahead.


