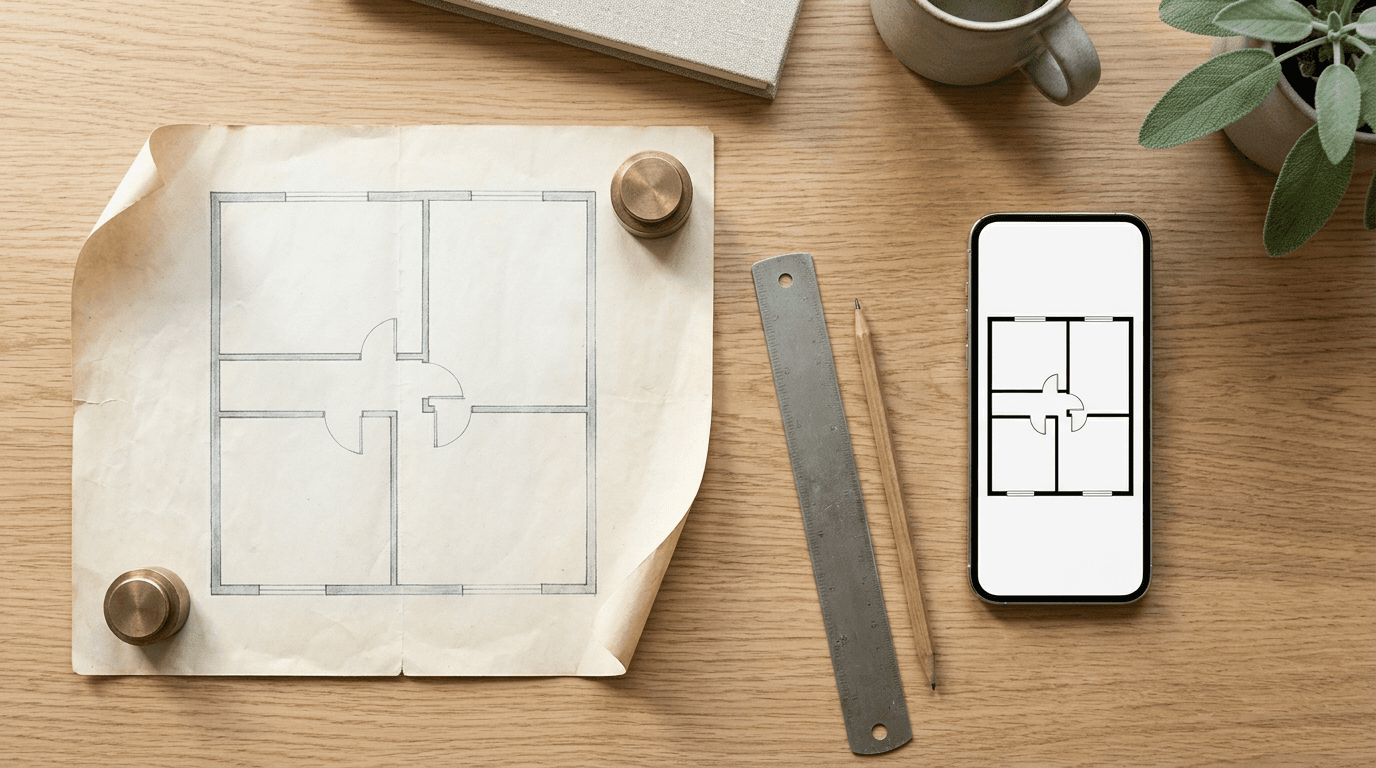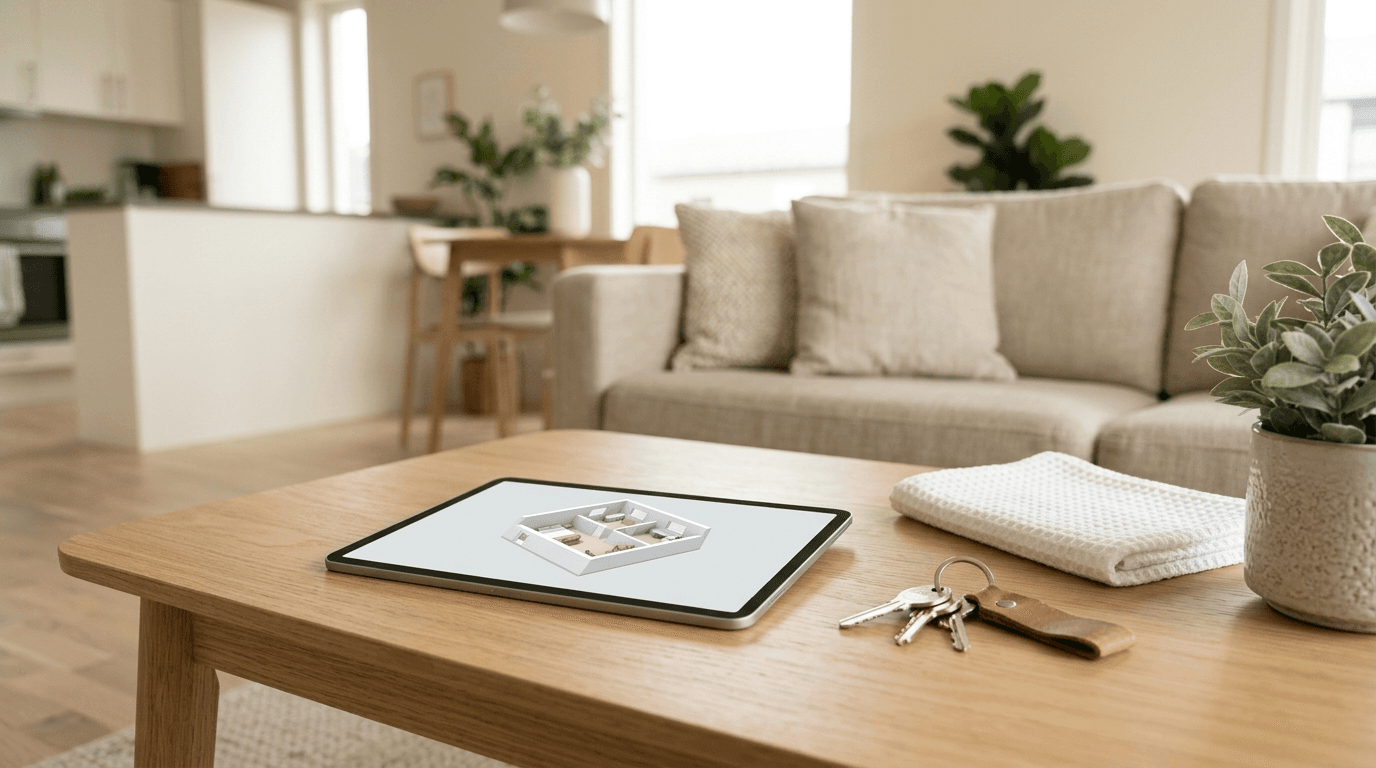
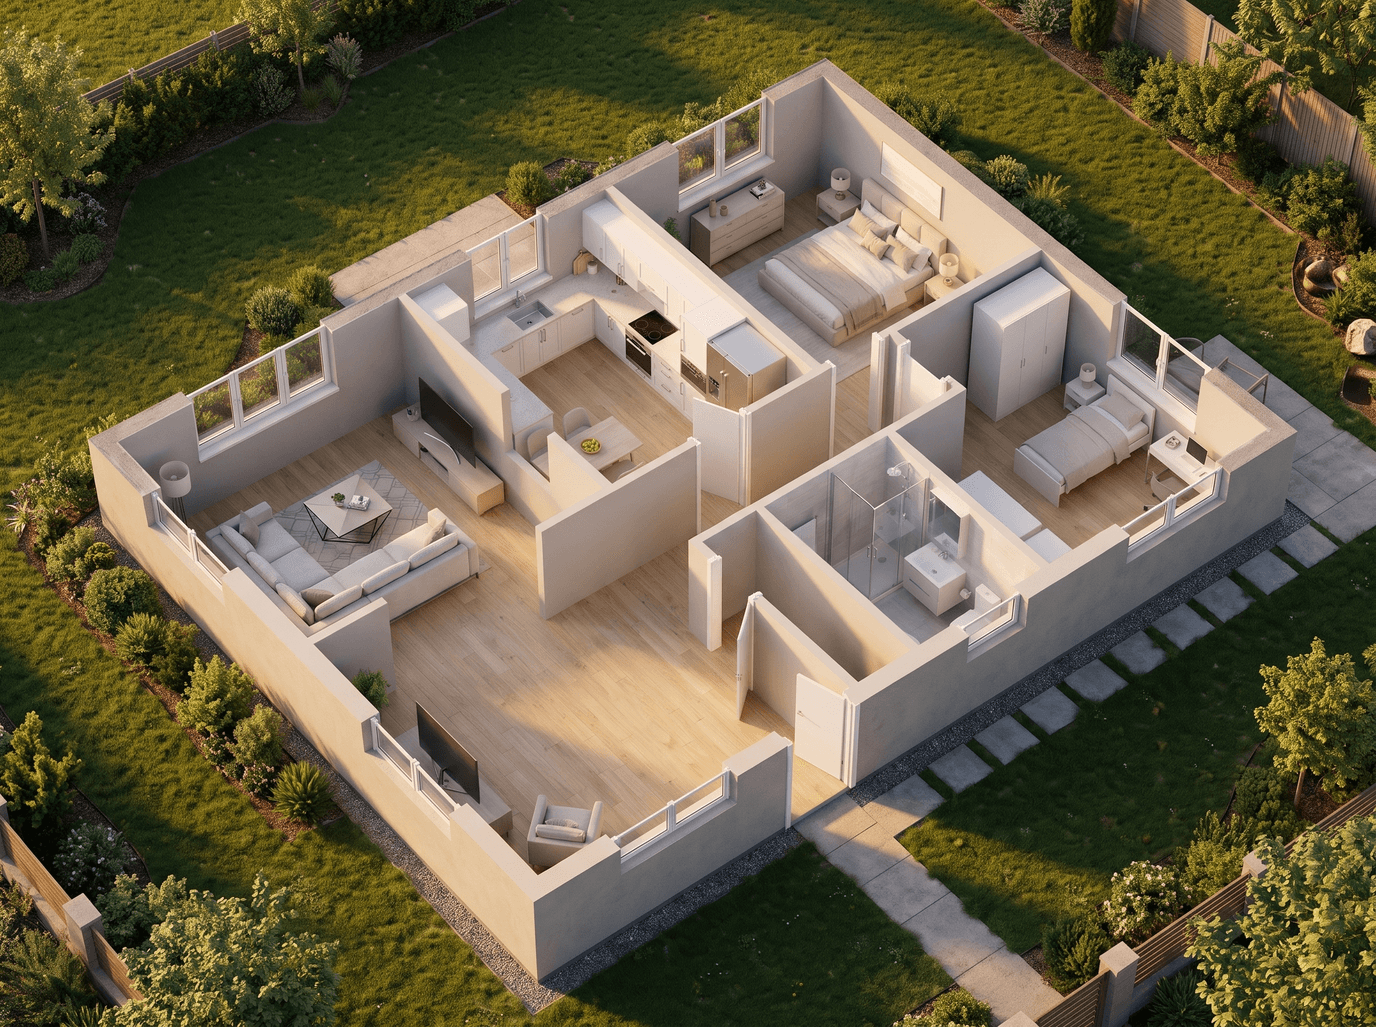

Table of Contents(6)
To turn a hand-drawn floor plan into a photoreal render, redraw it with Sketch → Floor Plan, make a 3D view with Floor Plan → 3D, then open 3D → Photoreal Render and pick that 3D result from your Library.
Floor Plan to 3D Render — From a Sketch to a Photoreal Image in One Studio
Turn a sketch into a floor plan, the plan into a 3D view and the 3D view into a photoreal render, then place it on your land. Steps 2 credits; land placement 3.
The Studio Path in Short
This guide follows one floor plan from a pencil sketch to a photoreal render in the Floor Plan & 3D Studio: the settings we chose, what came out at each step, what we had to check and what it cost. Three tools do the work:
- Sketch → Floor Plan redraws the photo of a sketch as a clean floor plan, for 2 credits.
- Floor Plan → 3D turns the plan into a furnished 3D view, for 2 credits. It is one click away from the Sketch → Floor Plan result.
- 3D → Photoreal Render turns the 3D view into a real-looking image, for 2 credits. There is no one-click step to it from a Floor Plan → 3D result: you open 3D → Photoreal Render and pick the 3D result from your Library.
The path starts from a sketch of a floor plan, a drawing seen from above with walls, doors and windows. A perspective drawing of a building is a different kind of input. The three steps cost 6 credits at 2K; in our example the last step ran twice, as Step 3 explains, so it cost 8. New accounts start with 6 free credits.
About the images in this guide: the sketch is an AI-generated sample, and the plan, the 3D view and the render, like the cover image, are AI-generated visualizations.
Step 1: Photograph the Sketch and Redraw It as a Floor Plan
Everything later is built on this step, so the photo is worth a minute of care:
- Shoot straight from above, with the phone parallel to the paper and the whole sheet in view.
- Use even light. Daylight from the side avoids a shadow of the phone and a bright spot in the middle.
- Draw clearly. Closed walls, doors and windows where they belong, and room names and sizes you can read in the photo.
Upload the photo as a JPG, PNG or WebP file of up to 50 MB and choose the settings. These are the ones we used, with what each one does:
- Output style: Pure Line Art (Classic CAD). White background, black lines. Light Grey Fills, Hatched Walls and Symbolized + Colored are the other styles.
- Measurements from your drawing: keep them exactly. The plan keeps the numbers you wrote and leaves out unreadable ones. You can also remove them, or let the AI estimate missing ones, which are approximate only.
- Room names: keep them as written.
- Furniture: none, for a clean plan with walls, doors and windows only.
- Doors and windows: only where I drew them. Nothing is added, and a gap in a wall stays an open passage.
- Page size: A4 Landscape.
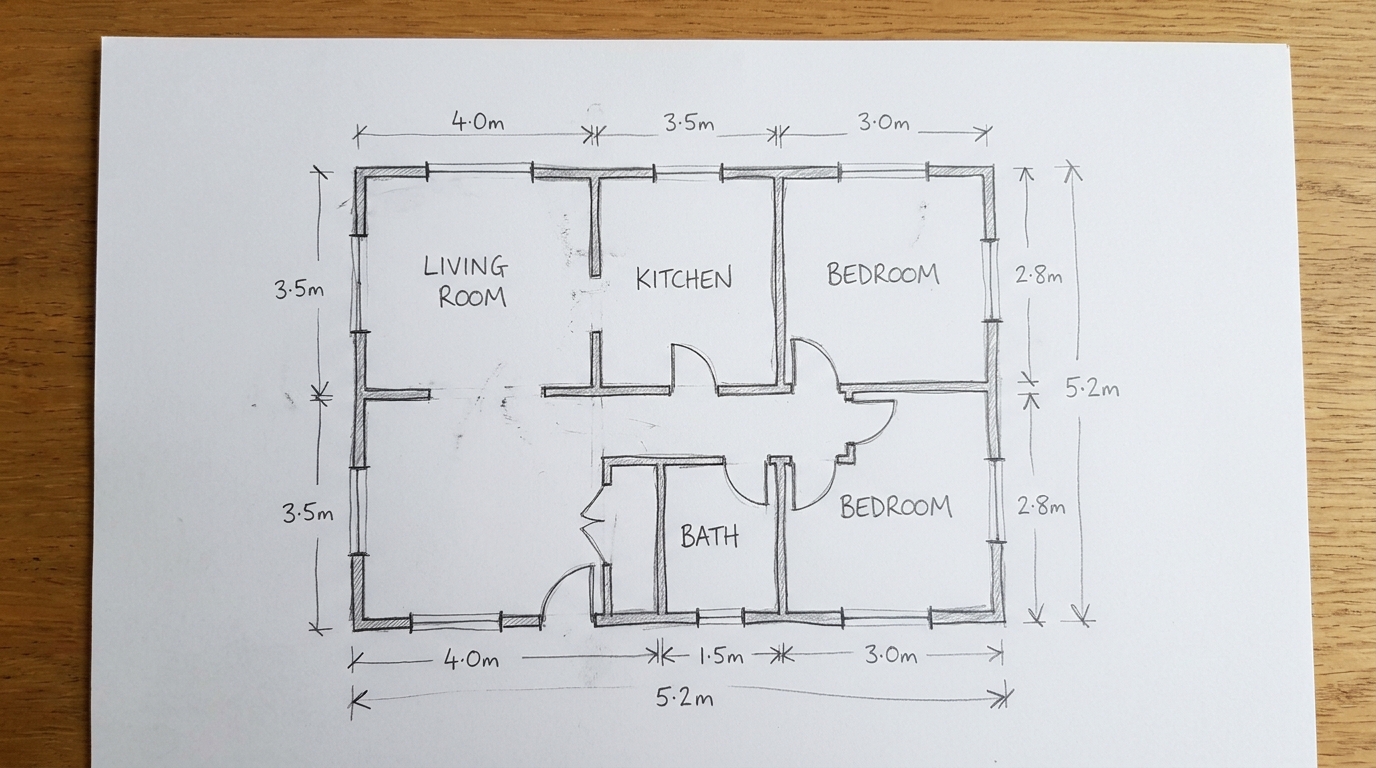
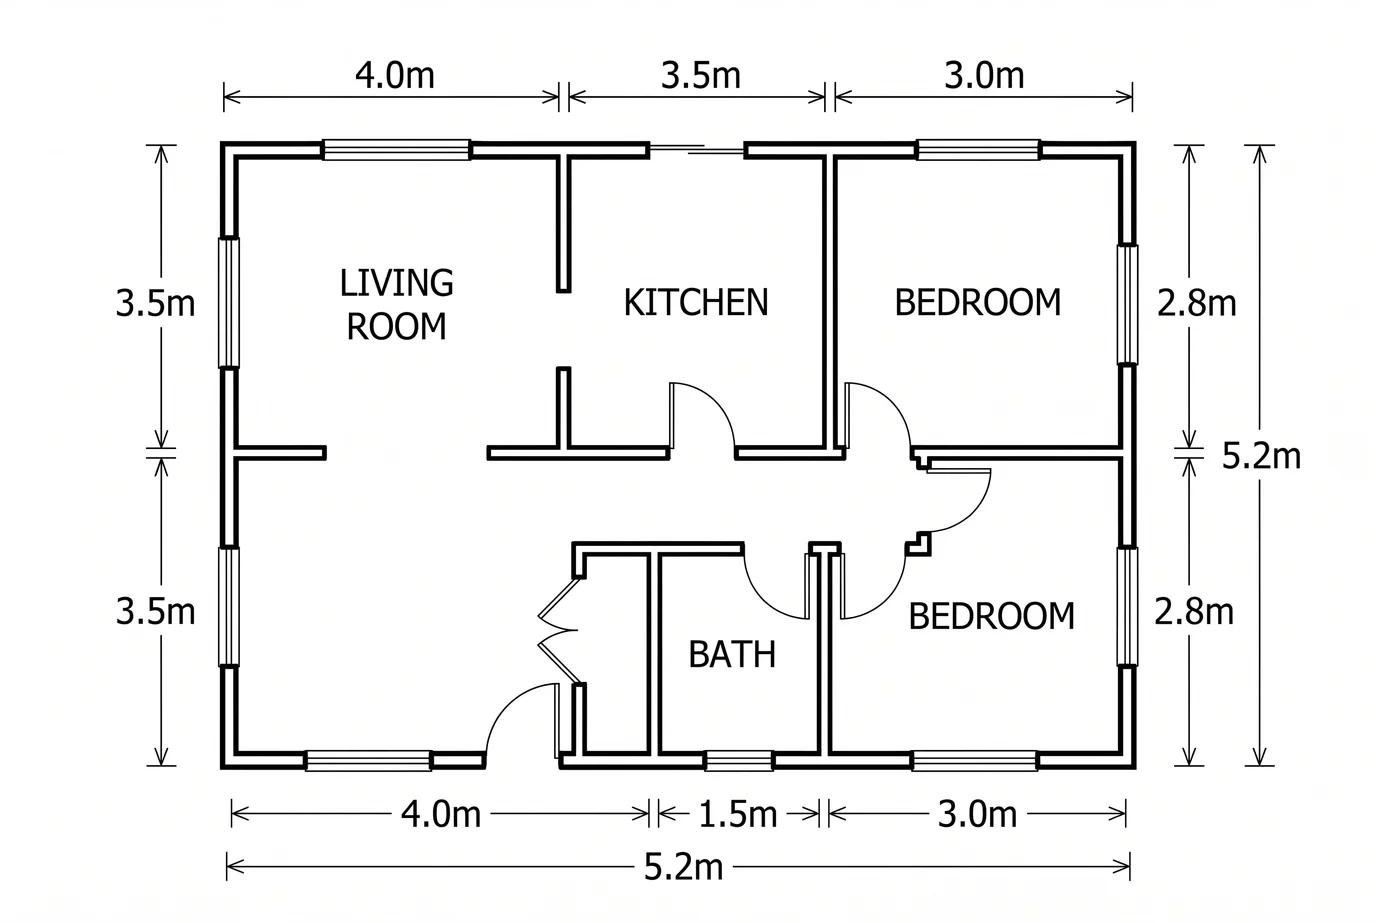
That caption is the lesson of this step. Before you go on, compare the plan with the sketch:
- Every room is there, with its name spelled as you wrote it.
- Every size matches, digit by digit, and the sizes along each wall add up to its total.
- Doors open the way you drew them, and the windows sit on the same walls.
A wrong number in the sketch stays wrong in every later step. Correct the sketch and run it again, or paint the spot on the plan with the brush and write what it should be, for 2 credits.
Step 2: Turn the Plan Into a 3D View
The Sketch → Floor Plan result offers three one-click next steps: Floor Plan → 3D, a colored plan and a visualized plan. We chose 3D, with these settings:
- 3D output style: Isometric Dollhouse. A 45° view with the roof off and the walls cut low, like an architectural model. Stylised Top-Down is the other choice.
- Interior style: Modern (white, light wood and matte black accents). Scandinavian, Minimalist, Industrial, Traditional and Luxury are the others.
- Furniture: Furnished, so every room gets furniture in the chosen style. Empty gives only walls, doors and windows.
- Outside the walls: show what my plan shows. Balconies, terraces or parking appear only where the plan draws them; this plan draws none.
- Text in the render: clean, no text.
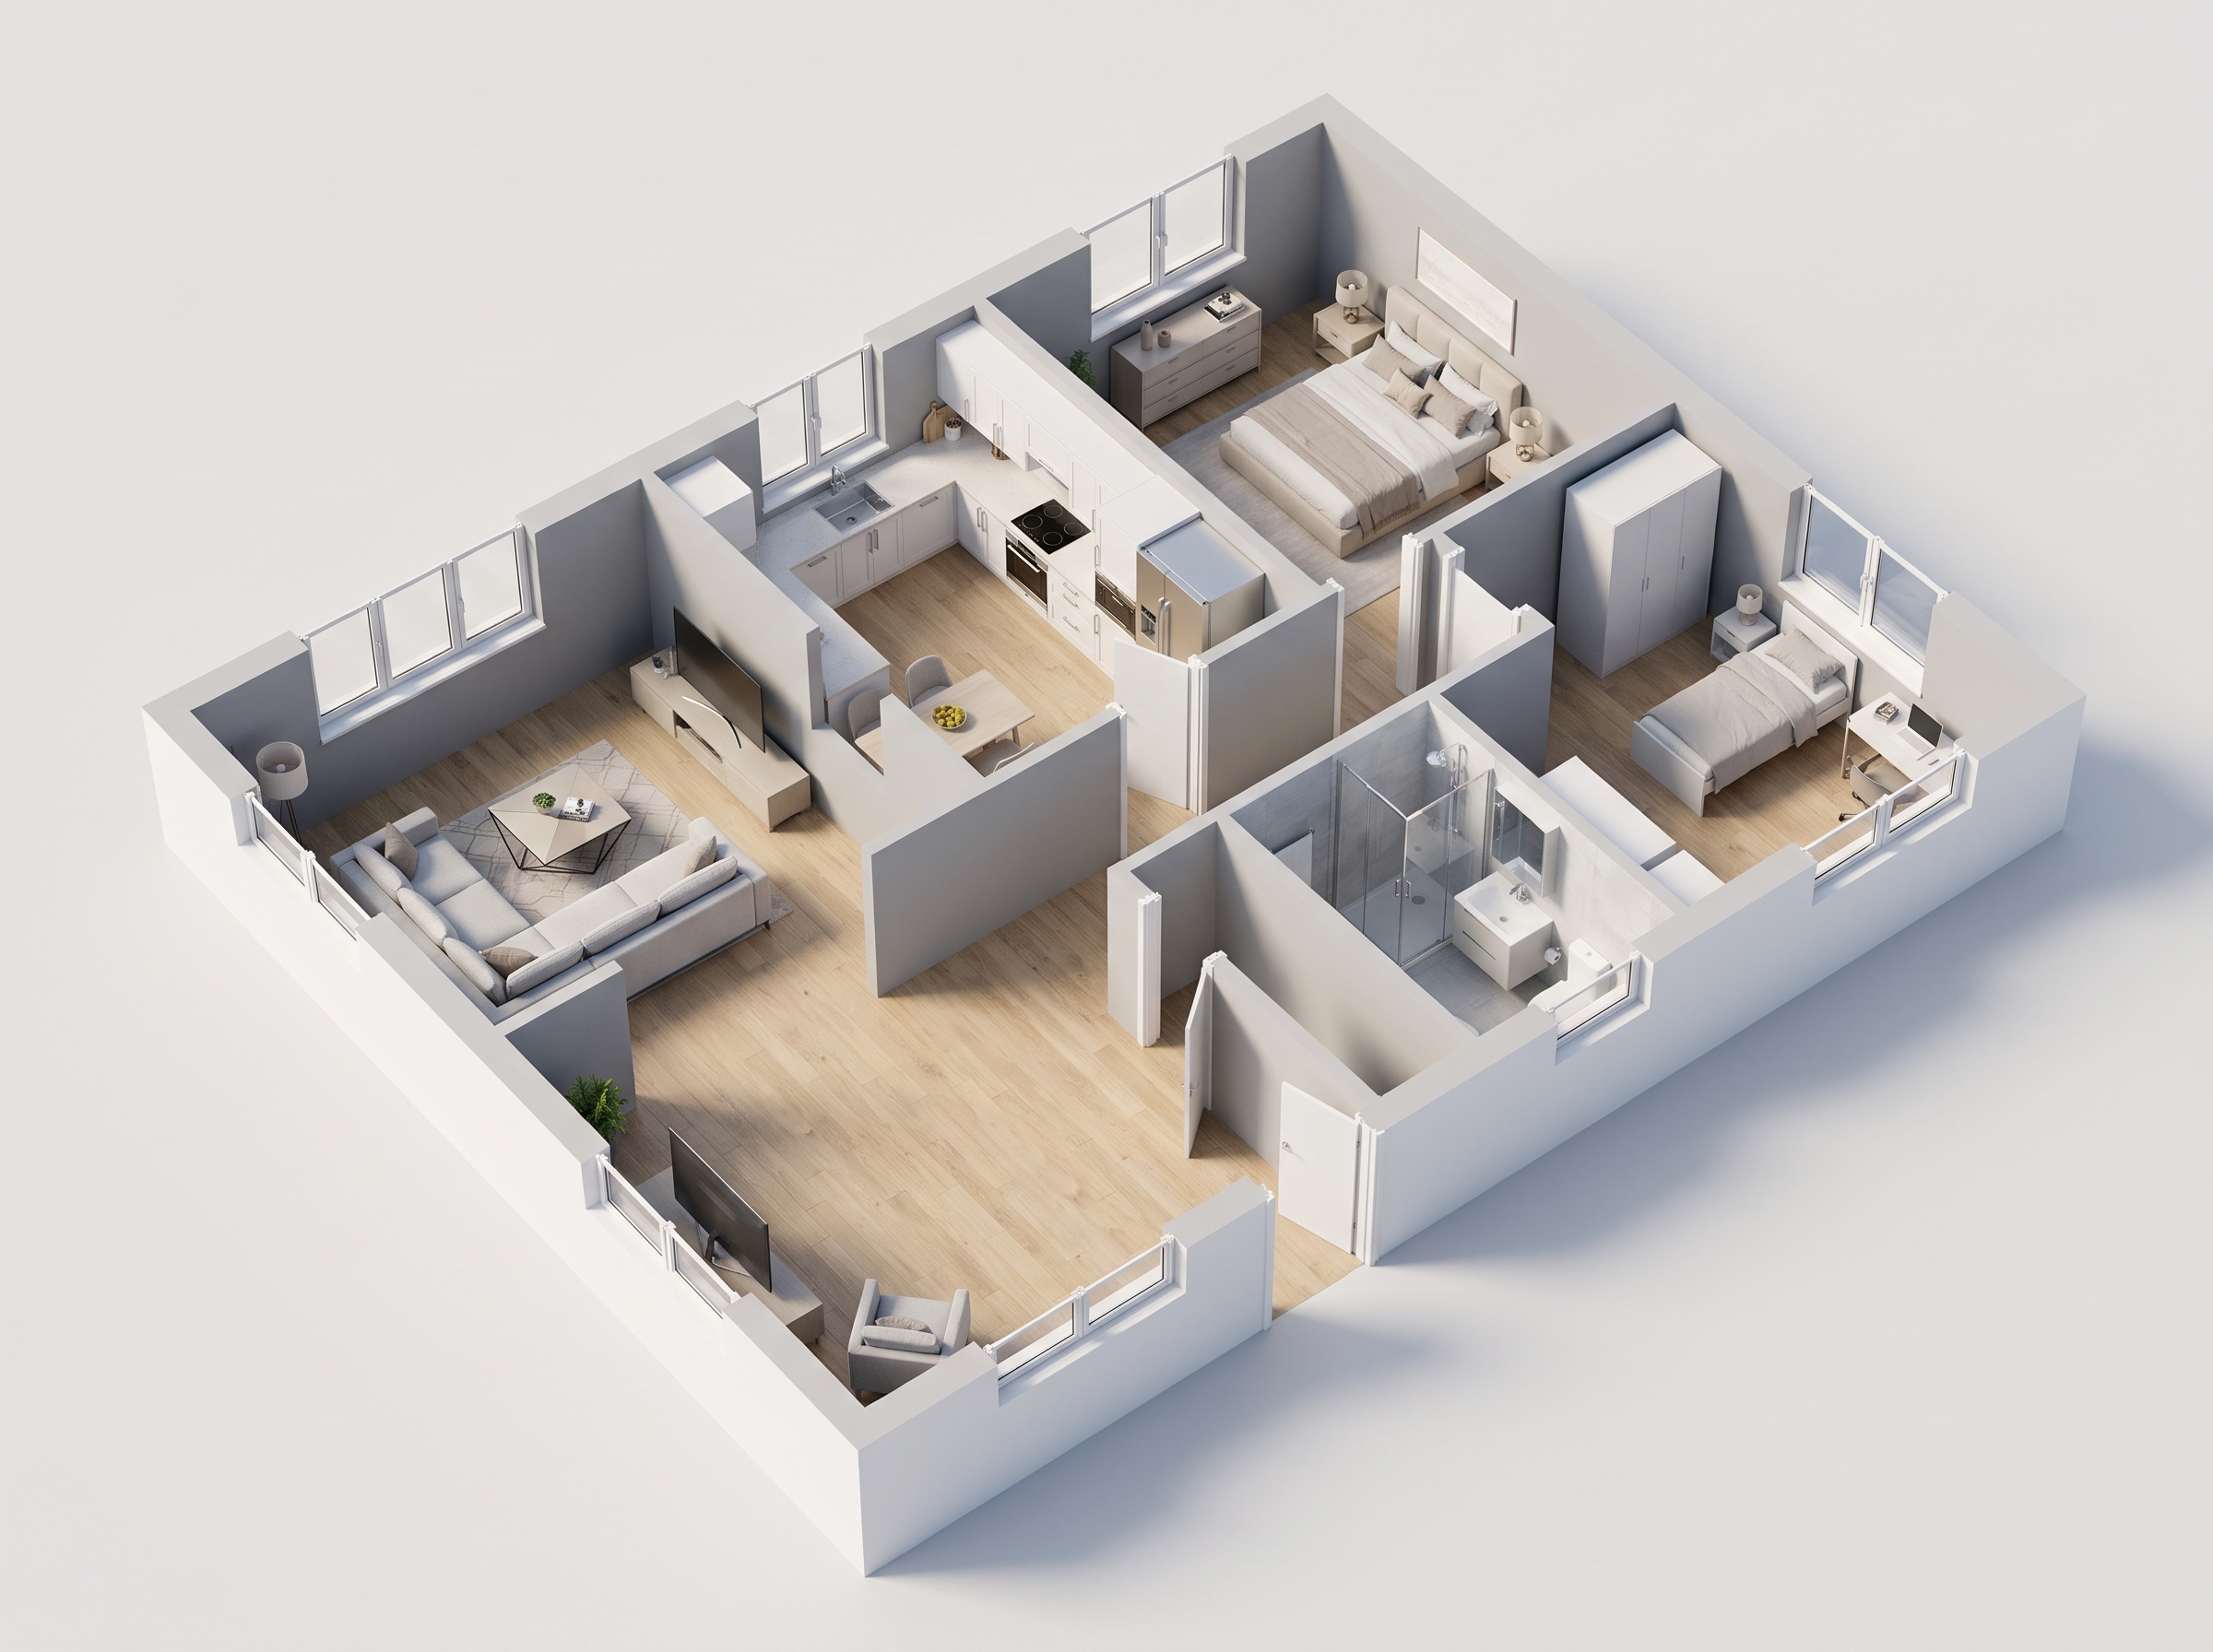
Check the 3D view against the plan room by room, as in Step 1: rooms, doors and windows. The 3D view cannot be truer than the plan it starts from, which is one more reason to fix the numbers first.
Step 3: Open 3D → Photoreal Render and Pick the 3D Result
This is the step without a shortcut. A Floor Plan → 3D result has no one-click step to photoreal: open 3D → Photoreal Render and pick the 3D result from your Library, or upload it. If you upload the floor plan itself by mistake, a free check says it is a floor plan and points you to Floor Plan → 3D; nothing is charged for that check.
We chose these settings:
- Space: From above (cutaway), the match for a dollhouse view. Interior and Exterior are for eye-level views.
- Light: Golden hour. Daytime, Evening and Night are the other choices.
- People: None.
- Materials: Keep as they are, so the floors, walls and furniture keep the look of the 3D view. Renew would give them one of seven styles.
- Resolution: 2K. 4K is available on the Pro and Business plans, still at 2 credits.
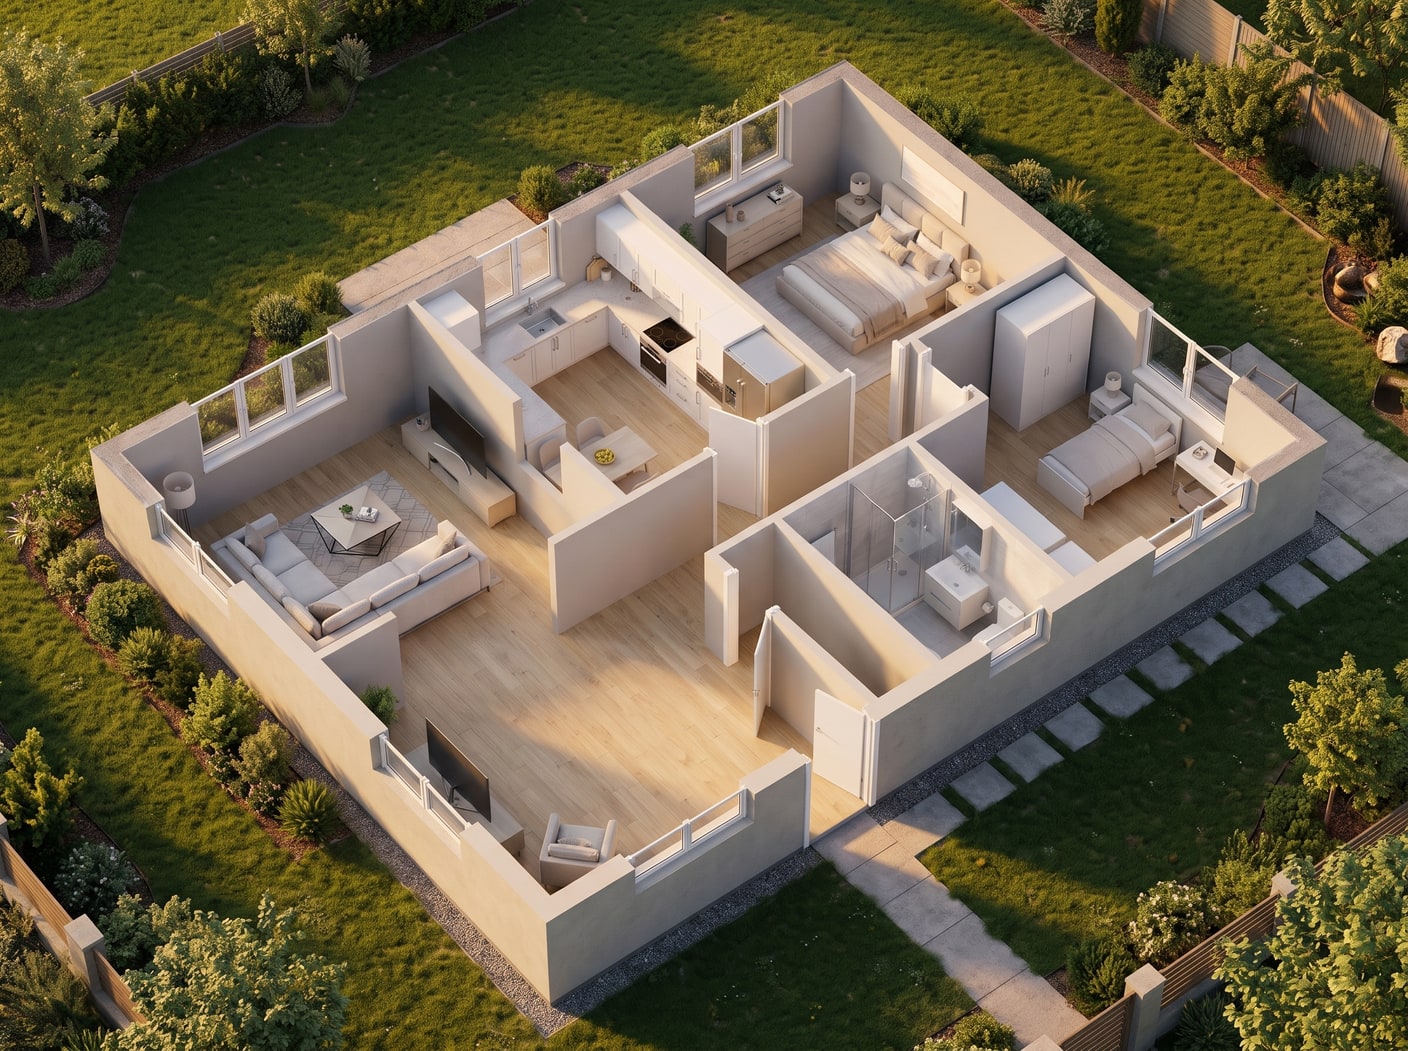
That first run is worth telling. With the same settings, two runs do not give the same image, and a run can change a detail of the design. You have two ways out: run the step again for 2 credits, as we did, or paint the wrong spot with the brush and write what it should be, also 2 credits, and only that area changes. The eraser removes a painted object the same way. Treat the garden as decoration rather than design: it shows a setting, not your plot.
What the Example Cost and What to Check
| Step | Tool | Settings used | Credits | How you reach the next step |
|---|---|---|---|---|
| 1 | Sketch → Floor Plan | Pure Line Art; sizes and room names kept; no furniture; doors and windows only where drawn; A4 Landscape | 2 | One click: 3D, colored plan or visualized plan |
| 2 | Floor Plan → 3D | Isometric Dollhouse; Modern; Furnished; no text | 2 | No one-click step: open 3D → Photoreal Render and pick the result from your Library |
| 3 | 3D → Photoreal Render | From above (cutaway); Golden hour; no people; materials kept; 2K | 2, or 4 with our second run | Exterior results offer Place on my site |
| Total | 6, or 8 with the second run |
At 4K, on the Pro and Business plans, the two plan steps cost 4 credits each and 3D → Photoreal Render stays at 2, so the same path costs 10 credits. On monthly plans, 2 credits work out at $0.23–$0.40.
The checks, in one place:
- After the plan: rooms, names, every size digit by digit, the totals along each wall, doors and windows.
- After the 3D view: the same rooms, doors and windows as the plan, and nothing outside the walls that the plan does not draw.
- After the render: windows, doors and walls as in the 3D view, and anything new, such as a terrace, removed or redone.
Results are saved in the studio's history column and in your Library, so you can go back to an earlier version and continue differently from there. The first time you open the studio, a short tour shows how it works; How it works in the header plays it again.
What the Result Is and What It Is Not
The plan, the 3D view and the render make a design easy to understand: for a first talk with an architect or a builder, a family deciding on a layout, a listing or a brochure, or a renovation idea. They are not construction or permit drawings, and sizes in them are not measured. Check every dimension against your original sketch, and label the 3D view and the render as visualizations when you publish them.
To see the finished house on a photo of your land, you need an exterior view of the building, such as one exported from its 3D model. A cutaway from above is not one. Exterior 3D → Photoreal Render results offer Place on my site: you paint the spot on the land photo and the building is placed there for 3 credits, as described on the house-on-land page.
Ready to transform your listings?
Try Roomagen's AI virtual staging for free. Upload your first photo and see the result, usually in under a minute.
Start FreeFrequently Asked Questions

Written by
Roomagen Team
The Roomagen team creates in-depth guides about AI virtual staging, real estate photography, and property marketing strategies to help agents and professionals stay ahead.