
Table of Contents(6)
To render a SketchUp or Revit model with AI, export the view as an image, upload it to 3D → Photoreal Render, choose light, weather and people, and get a real-looking photo from the same camera for 2 credits.
AI Architectural Rendering — Turn a 3D Model View into a Real-Looking Photo
Turn a view of your SketchUp, Revit, Archicad, Rhino or Blender model into a photoreal image with AI. Choose the light, weather and people; 2 credits per image.
SketchUp and Revit to a Photoreal Image in Short
A SketchUp scene or a Revit 3D view already holds the design: walls, windows, roof, furniture and the camera. What it lacks is the look of the finished building: real materials, real light and a setting around it. 3D → Photoreal Render adds those from one exported image, in the browser, with nothing to install. The route has four steps:
- Export the view as an image: a SketchUp scene with File > Export > 2D Graphic, a Revit 3D view with File > Export > Images and Animations > Image, or a plain screenshot.
- Upload it as a JPG, PNG or WebP file of up to 50 MB. A free check confirms that it is a 3D view and picks Interior, Exterior or From above (cutaway) for you.
- Choose the settings: light, weather, people and materials, and under More settings the surroundings, greenery, vehicles and ground.
- Create the image for 2 credits, at 2K or, on the Pro and Business plans, at 4K. Fix one spot with the brush, or place an exterior on a photo of the real plot.
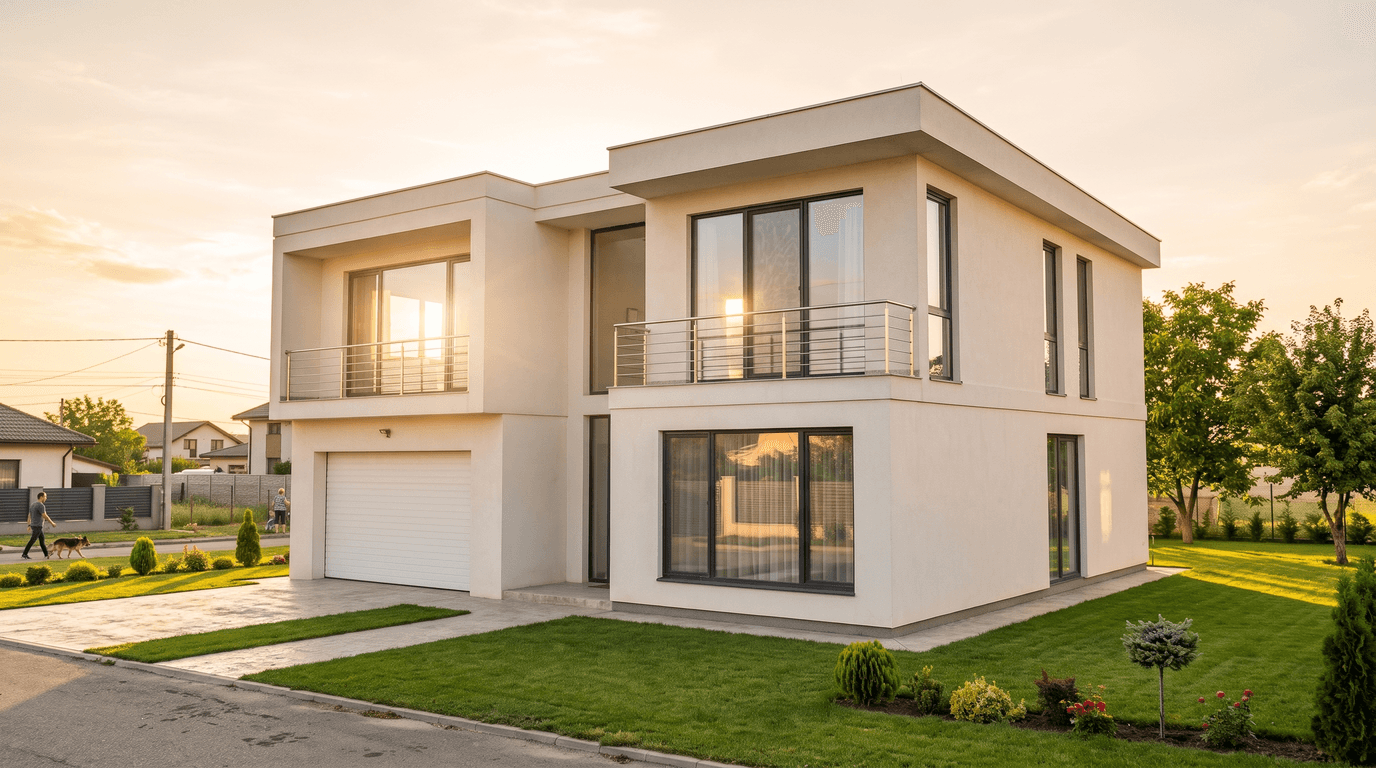
The camera and the design stay as modelled. Plain white or grey surfaces get the material they most likely are, and the light, weather, people and surroundings are your choice. The program pages for SketchUp and Revit describe the same tool from each program's side.
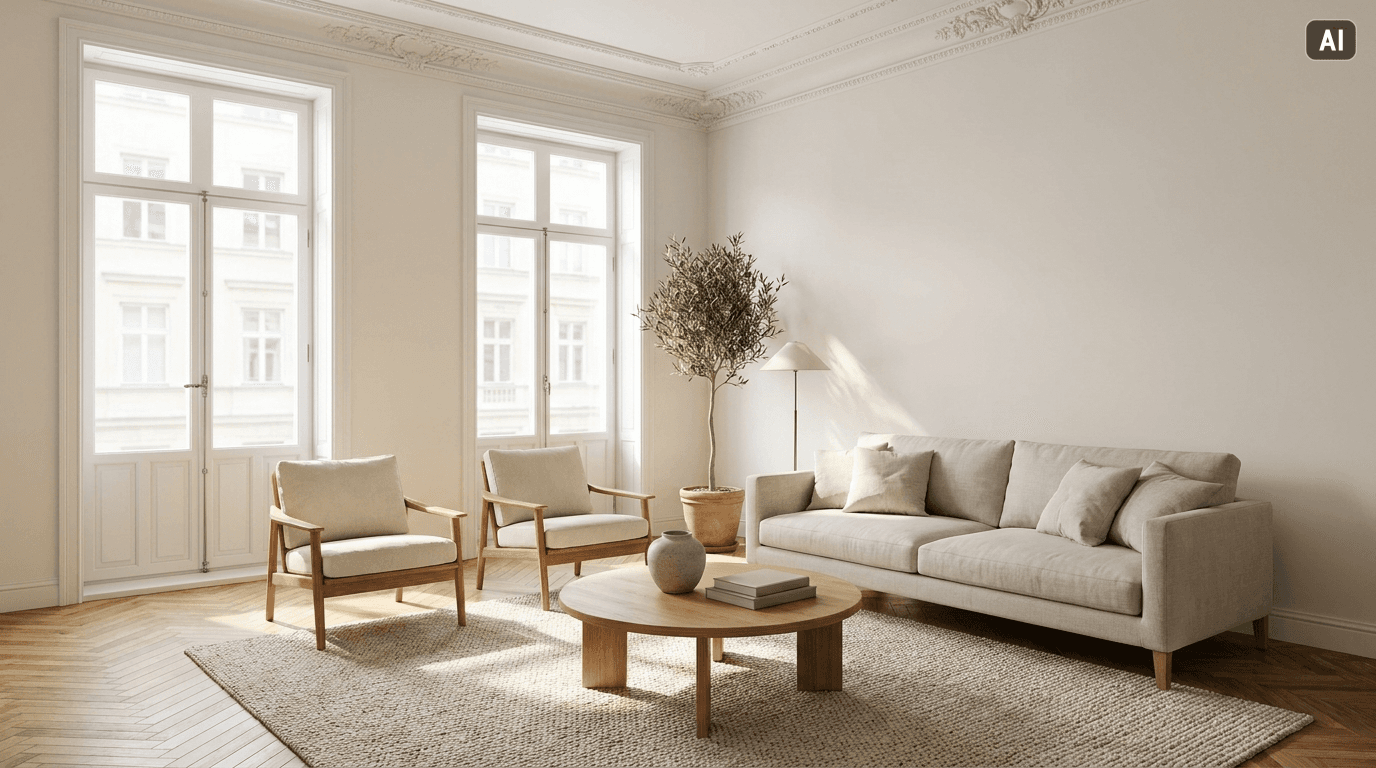
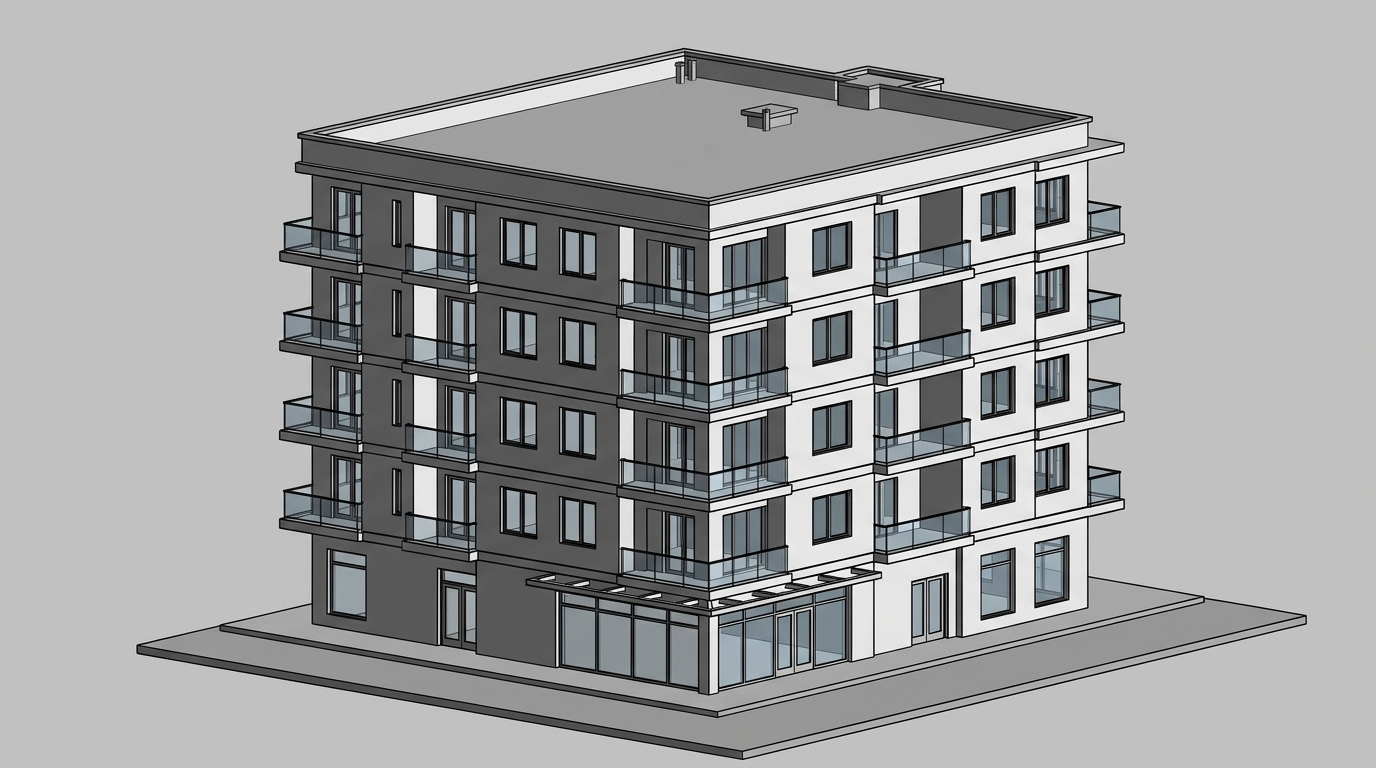
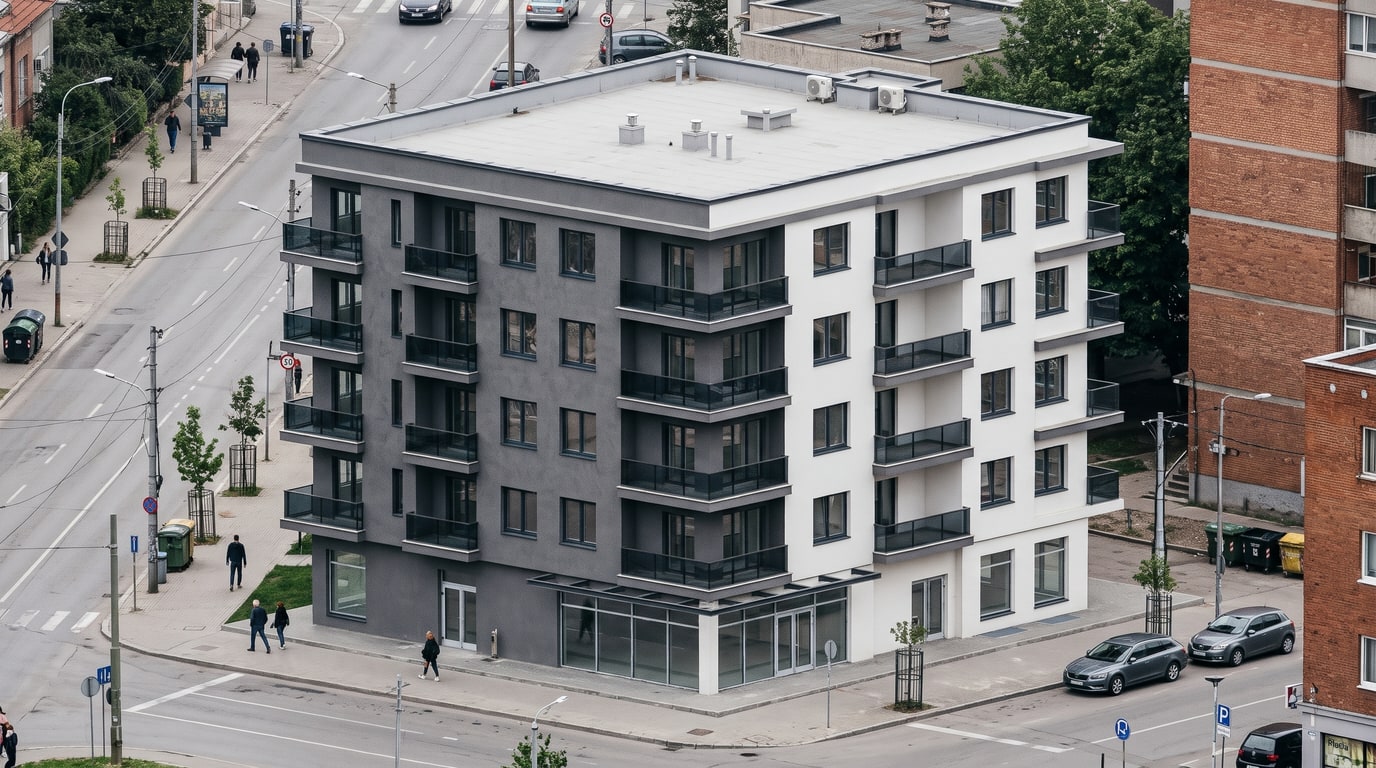
About the images in this guide: the cover image and both renders are AI-generated visualizations, and the SketchUp-style and Revit-style views are AI-generated samples made to look like those programs' exports, not files exported from them.
Step 1: Export a Good View From SketchUp
SketchUp's help describes the export: choose File > Export > 2D Graphic, pick a raster format (JPEG, PNG, TIFF or BMP) and set the size under Options. Choose JPEG or PNG, since the upload takes JPG, PNG and WebP. A few habits make the result better:
- Save the view as a scene first. In the Scenes panel, Add Scene stores the camera, "including point of view, zoom distance, and field of view", according to SketchUp's help. After a design change you can return to exactly the same view and export it again.
- Export at a good size. Untick Use View Size and type a width in pixels; SketchUp keeps the proportions. Leave Anti-alias on, as it is by default, so the edges are smooth. Small or blurry exports lose detail in the render.
- Use any face style. Shaded, Shaded Using Textures, Hidden Line and plain white styles all work as input, with or without edges. Avoid Wireframe, which shows only the lines.
- Frame it like the photo you want. Keep the whole building in view, set the eye height you want for a street view, and cut off nothing that matters. The camera you export is the camera you get.
- Hide what is not the design. The render sees only the image, so hide guides, dimensions, text labels and section planes you do not want treated as part of the building.
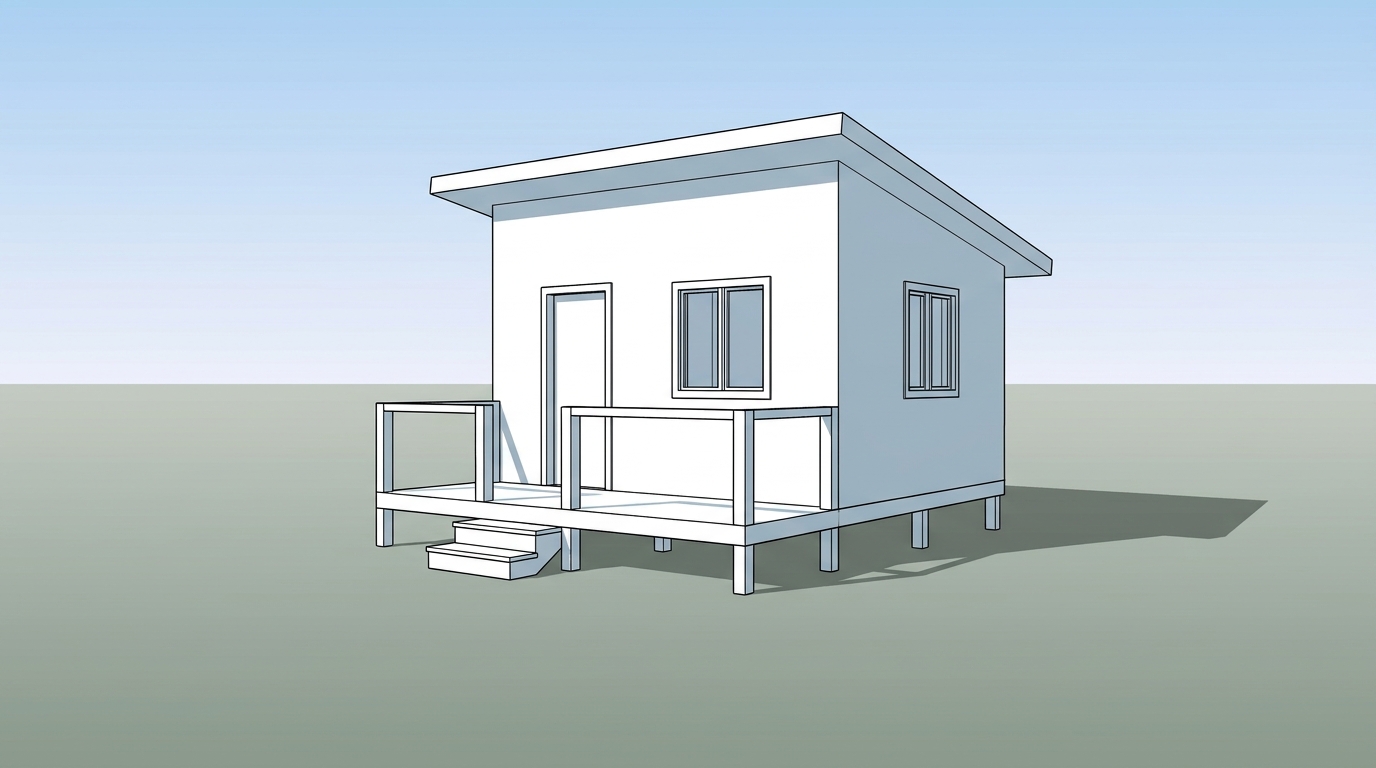
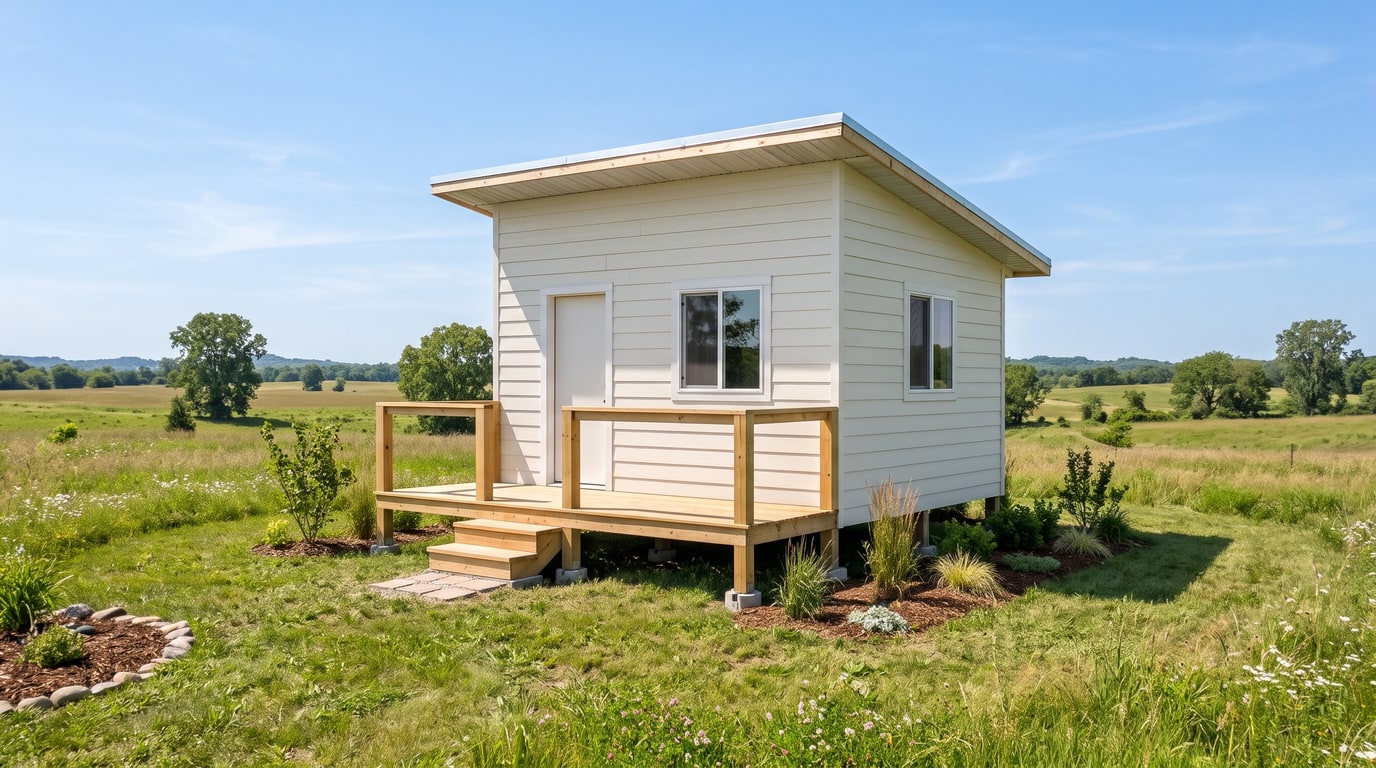
If you wanted plaster rather than siding, the note field (up to 300 characters) or the brush is where you say so.
Step 2: Export a 3D View From Revit
Revit exports any view straight to an image file. Autodesk's help gives the path File > Export > Images and Animations > Image, and the Export Image dialog has the settings that matter:
- Export Range: Visible portion of current window exports what you see. Current window exports the whole drawing area, including parts outside the view.
- Image Size: Fit To sets the size in pixels, horizontally or vertically. Export large, so windows and balconies stay readable.
- Options: tick the boxes that hide reference and work planes, scope boxes and crop boundaries, so they do not end up in the picture.
- Format: Revit asks for a format separately for shaded and non-shaded views. Export to one the upload accepts: JPG, PNG or WebP.
The visual style decides what the render starts from. In Autodesk's descriptions, Shaded shows the model in shaded mode, Consistent Colors shades every surface by its material colour, and Realistic shows material appearances. All three work. A Realistic view can keep its materials with Keep, while plain grey or white surfaces get likely real ones. Wireframe draws every edge but no surfaces, so walls behind walls show through; avoid it. A screenshot of the 3D view works as well, as long as no toolbars sit on top of the model.
Step 3: Choose the Settings in 3D → Photoreal Render
Only Space is required, and the free check fills it in. Everything else has a default, so you change only what matters for the image. These are the settings behind the two examples above:
| Setting | Options | SketchUp cabin | Revit apartments | When to change it |
|---|---|---|---|---|
| Space | Interior, Exterior, From above (cutaway) | Exterior | Exterior | Only if the check picked the wrong one |
| Light | Daytime, Golden hour, Evening, Night | Daytime | Daytime | Golden hour or Evening for a warmer mood |
| Weather | Clear, Overcast, Rain, Snow, Fog | Clear | Overcast | To match the season or the site |
| People | None, A few, Many | None | A few | To show scale and use |
| Vehicles (More settings) | None, Some | None | Some | Street context for city buildings |
| Surroundings (More settings) | Automatic, City, Suburban, Nature | Nature | City | To match the real location |
| Greenery (More settings) | Less, Normal, Plenty | Plenty | Normal | More planting for houses and landscapes |
| Ground (More settings) | Dry, Wet | Dry | Dry | Wet for rain or evening reflections |
| Materials | Keep as they are, or Renew in a style | Keep | Keep | Renew to compare finishes |
| Resolution | 2K; 4K on Pro and Business | 2K | 2K | 4K for print; still 2 credits |
For interiors, Space is Interior and two other settings appear under More settings: Light source (Natural, Lamps or Mixed) and Furniture (As it is, or Furnish if empty). The layout and the camera of your room stay the same.
Materials deserve a decision. Keep holds the textures you modelled and gives plain clay surfaces the most likely real material: plaster, glass, paving, grass, real trees and cars. Renew replaces the materials in one of seven styles (Modern, Minimalist, Scandinavian, Japandi, Industrial, Classic or Mediterranean) and keeps every shape. That is a quick way to show a client three finishes of one design, at 2 credits each, with all versions side by side in the history.
What Stays the Same and What Changes
The tool is built to keep the design and change the look. In practice:
- Stays: the camera angle, and the design itself: walls, windows, roof, furniture, their positions and their sizes.
- Changes because you chose it: the light, the weather, the people, the vehicles, the surroundings and the greenery, and with Renew the materials.
- Changes because the model does not say: plain white or grey surfaces get a likely real material, and the empty ground around the building becomes a street, a garden or a field.
Then check the result against the model before you show it. Look at window divisions, railings, roof edges and the entrance, and look for things the model does not have, like the roof units in the Revit example. A wrong spot does not mean starting over: paint it with the brush and write what it should be, and only that area changes, for 2 credits. The eraser removes a painted object the same way. Versions are saved in the studio history and your Library.
From an exterior result, Place on my site opens the next step: upload a photo of the land, paint the ground where the building stands, and it is placed in the photo's angle and light for 3 credits (5 at 4K). The house-on-land page explains that step.
Limits, Cost and When a Render Engine Fits Better
Limits. The result is a visualization for design reviews, client meetings and marketing, not a technical drawing. Sizes in it are not measured, small details can drift, and two runs with the same settings do not give identical images. Keep the SketchUp or Revit model as the reference for anything that must be exact, and label the images as visualizations when you publish them.
Cost. One image costs 2 credits at 2K and also at 4K, which comes with the Pro and Business plans. On monthly plans that is $0.23–$0.40 per image: Starter is $12 a month for 60 credits, Pro $29 for 200 and Business $79 for 700. The brush and the eraser cost 2 credits per fix, and new accounts start with 6 free credits.
When a render engine fits better. Revit's own rendering works from the model itself: Autodesk's workflow has you set lighting, exposure, resolution, background and quality before you render a 3D view. When every material and light must match the specification exactly, rendering from the model is the right tool. SketchUp also has its own AI Render, an extension on desktop and part of SketchUp for iPad and Web, which works from a snapshot of the current view with text prompts and style presets. 3D → Photoreal Render suits a different need: one tool for views from any program, settings instead of prompts, the camera kept, and a direct step onto a photo of the real site.
Ready to transform your listings?
Try Roomagen's AI virtual staging for free. Upload your first photo and see the result, usually in under a minute.
Start FreeSources & References
- 1.SketchUp Help – Importing and Exporting Image Files (File > Export > 2D Graphic, raster export options)
- 2.SketchUp Help – Creating Scenes (a scene keeps the camera location)
- 3.SketchUp Help – Face Style (Wireframe, Hidden Line, Shaded, Shaded Using Textures)
- 4.SketchUp Help – Using AI Render (updated 21 August 2026)
- 5.Autodesk Revit 2025 Help – Export a View to an Image File
- 6.Autodesk Revit 2026 Help – Visual Styles
- 7.Autodesk Revit 2023 Help – Workflow: Render Settings
Frequently Asked Questions

Written by
Roomagen Team
The Roomagen team creates in-depth guides about AI virtual staging, real estate photography, and property marketing strategies to help agents and professionals stay ahead.